Dataset Creation
Exercise Overview
In this tutorial, you will learn how to use Aunsight to create a new dataset, and update its schema.
A) Uploading an Existing Delimited File
- Download the file at this link to your local computer (“File->Save As”), saving it as iris.psv to an easily accessible location on your computer.

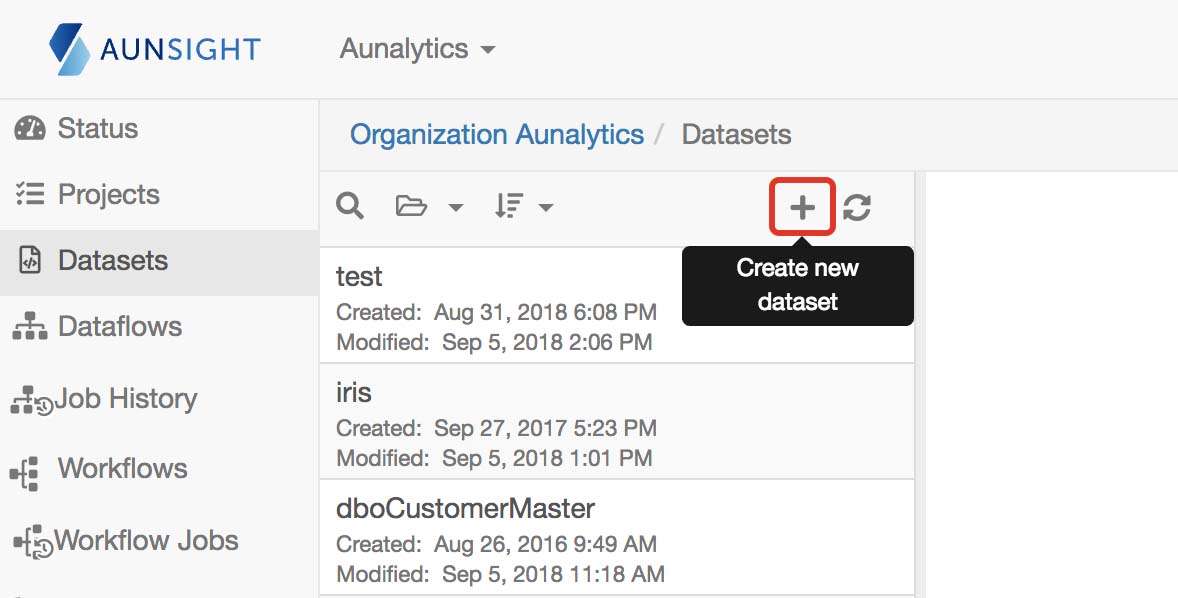
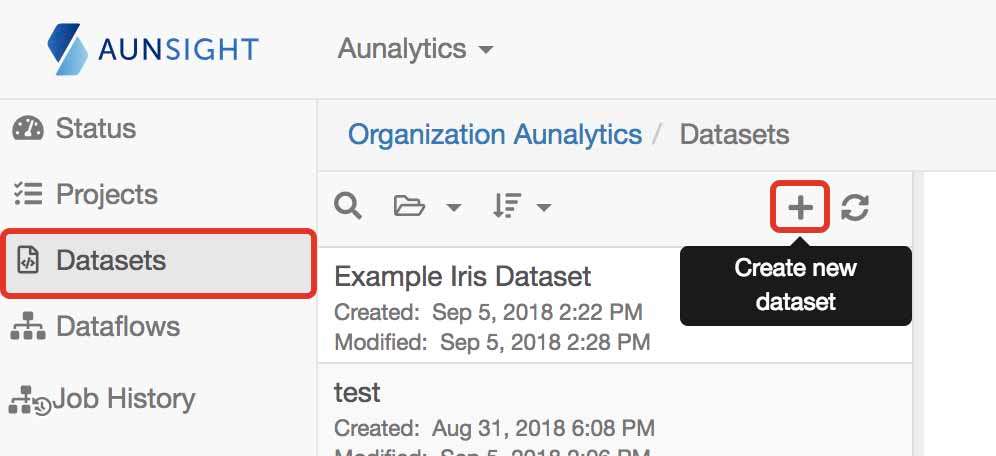
- Navigate to the Datasets landing page in Aunsight.
- Click the + button to create a new dataset
- Update the following fields in the pop-up box:
-
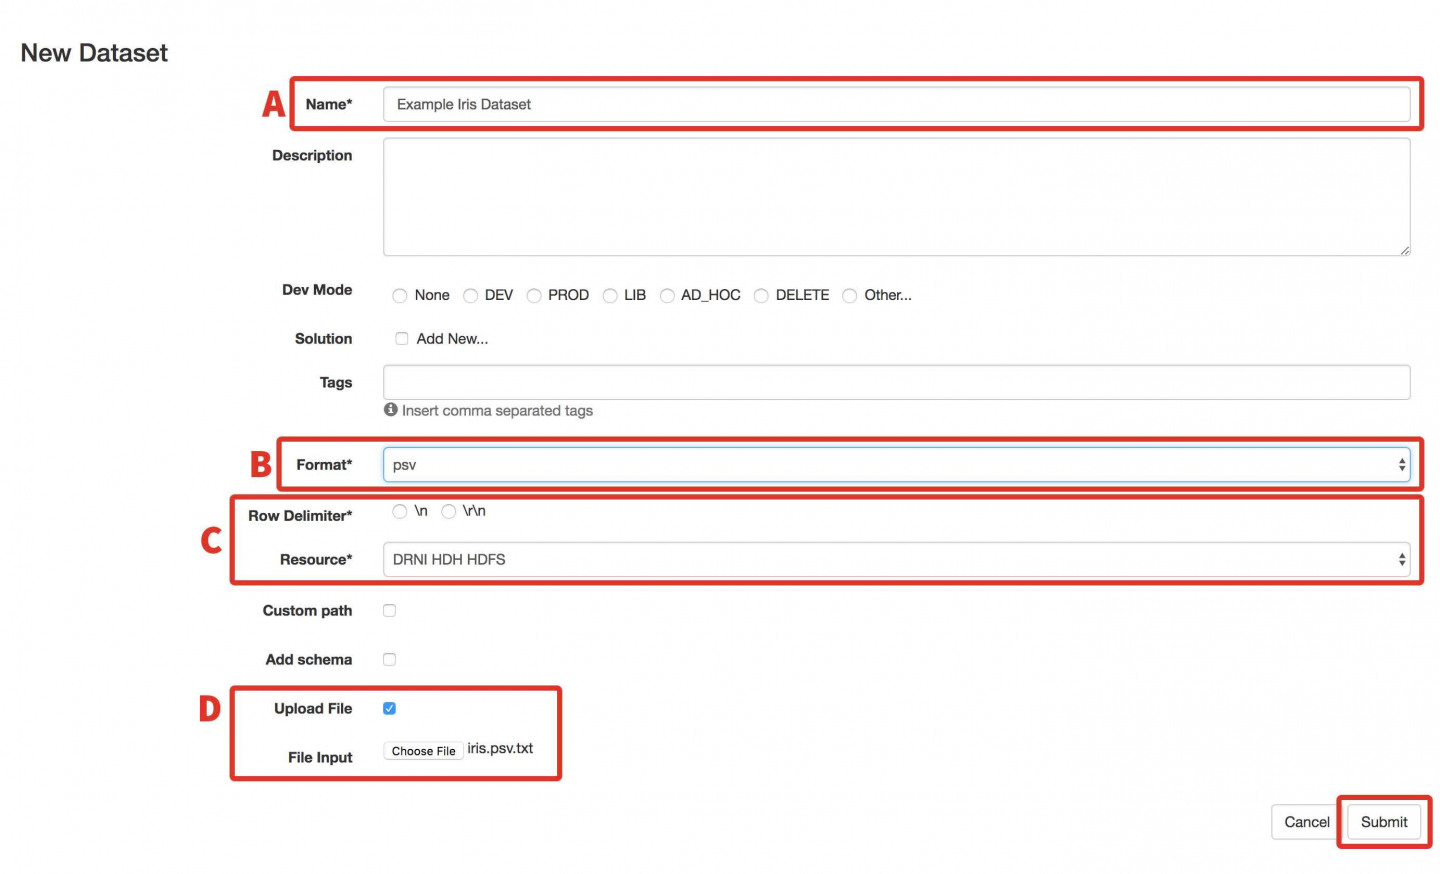
- In the Name field, enter Example Iris Dataset.
- From Format select the psv option.
- In this situation, leave the default Resource and Row Delimiter.
- Click the Upload File check box, press Choose File and select the iris.psv file from the location you saved it on your computer. (Technically, you can upload any type of datafile to Aunsight. However, most of the features of the platform require a delimited file and currently the platform supports psv, tsv, csv, and line delimited JSON files.)
- Press Submit. You will learn how to submit a schema for this dataset in the following section.
B) Manually Add a Schema
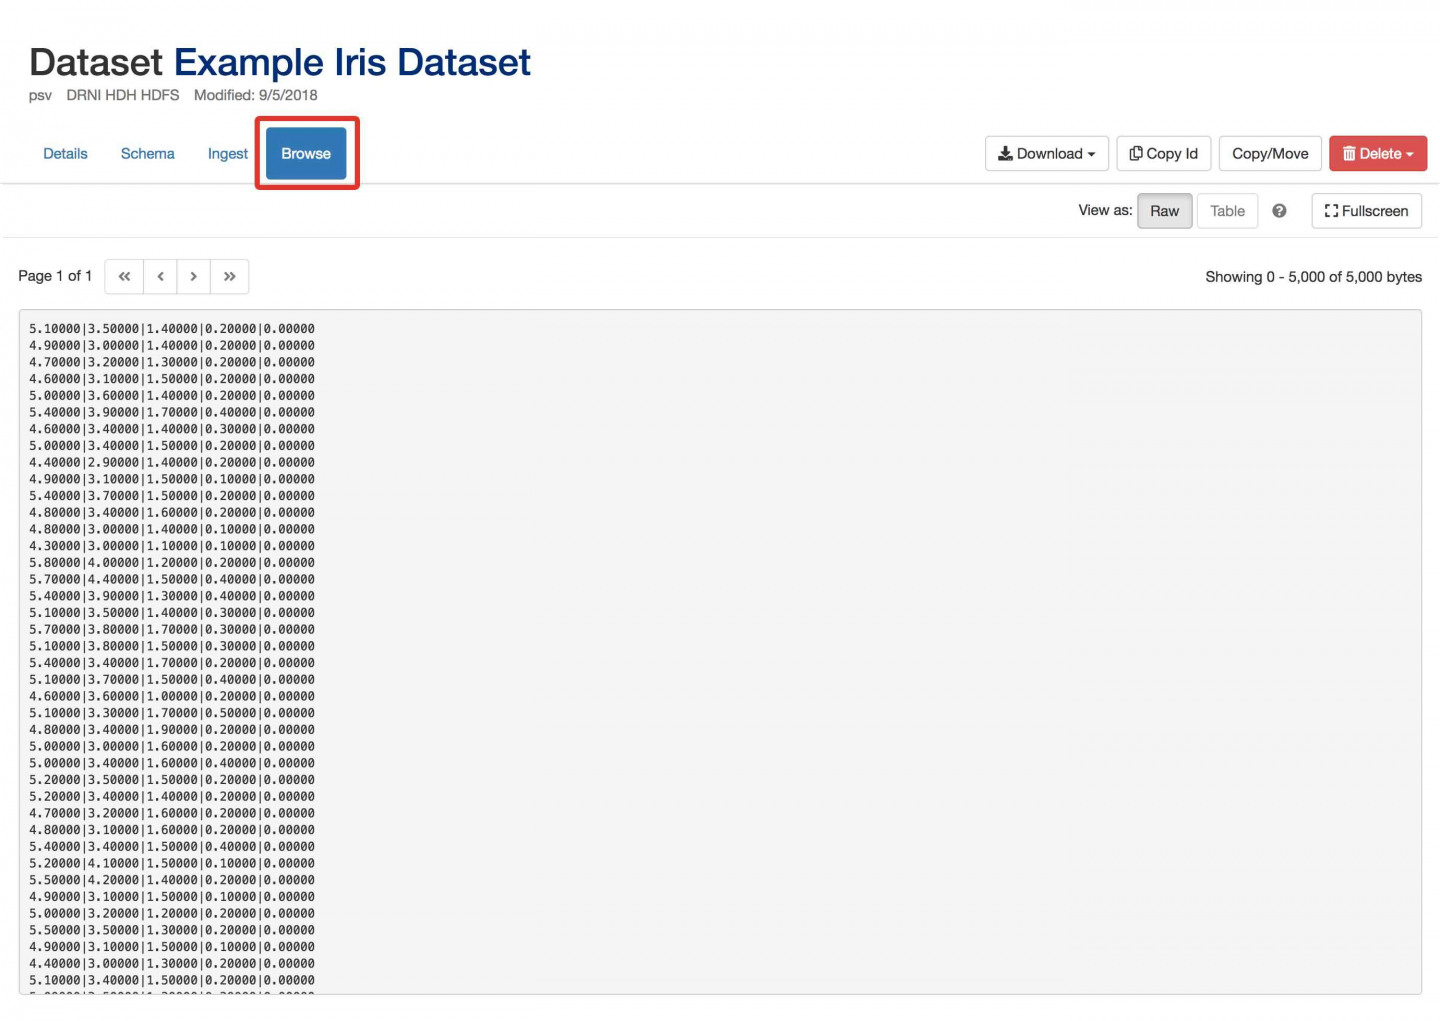
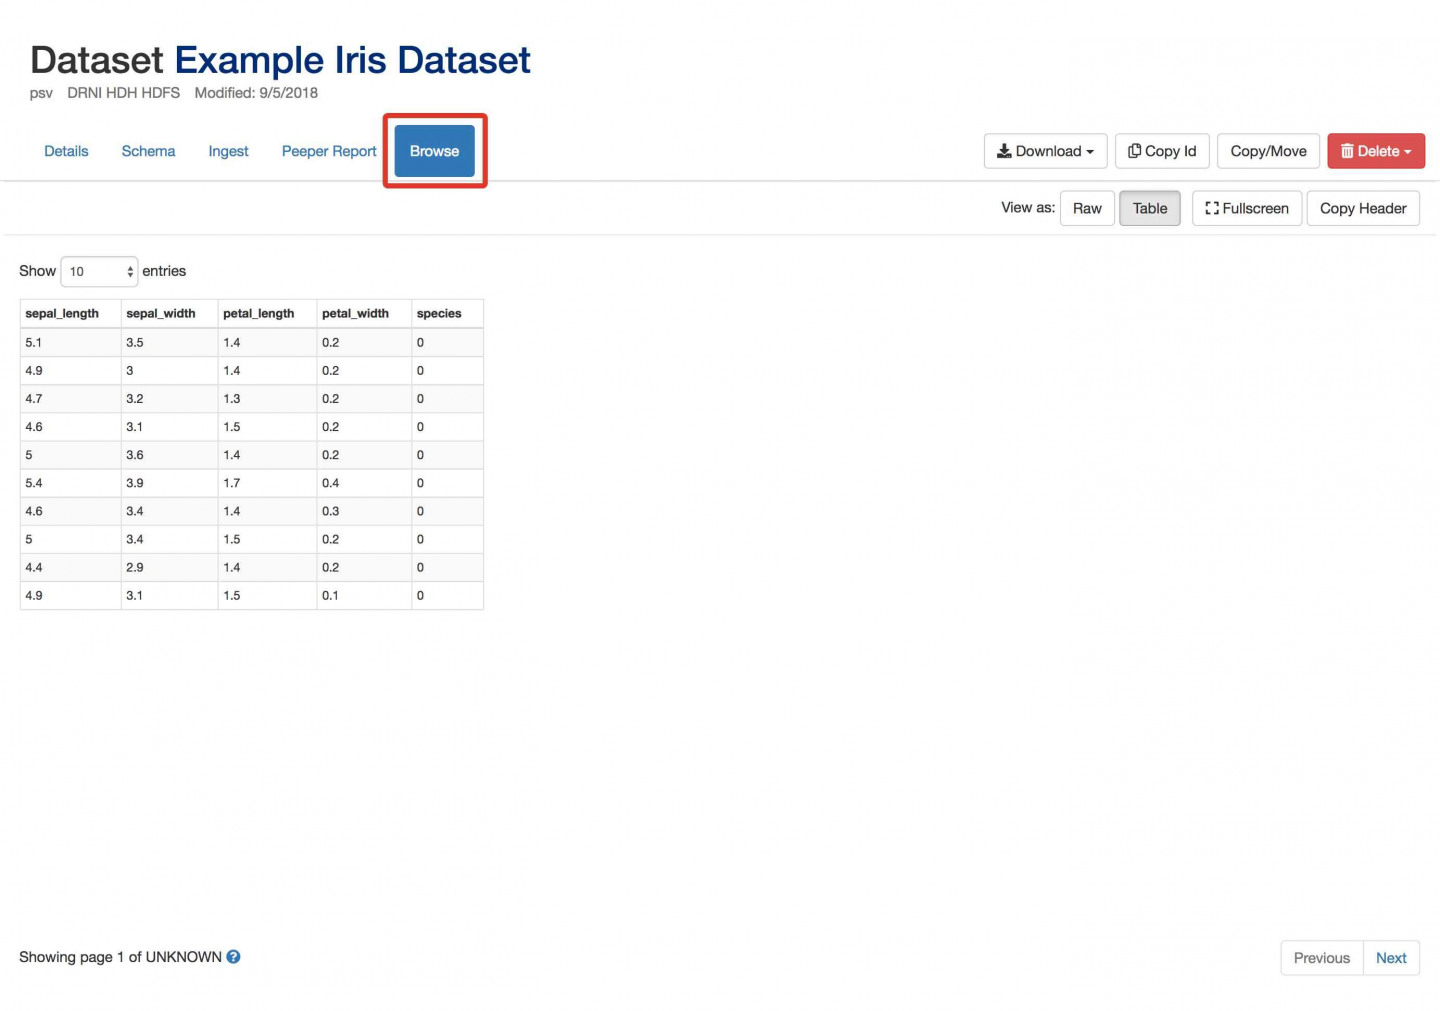
- Navigate to the Browse tab. You should see the raw data as we have not added a schema to this dataset yet.
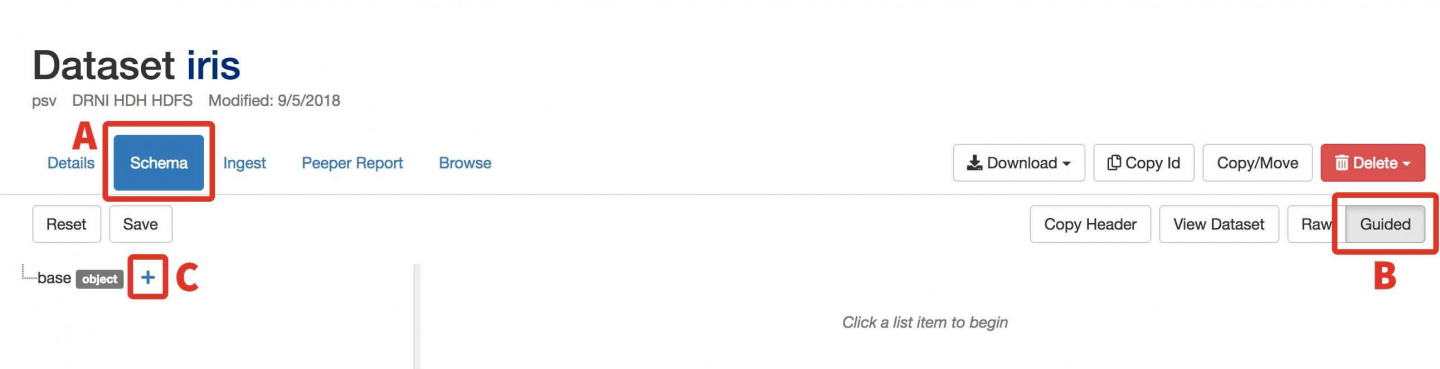
- Press Schema and select Guided mode. This will bring you to a WebUI variation of schema creation.
- A) Add a Column for Sepal Length:
- Click the + next to Base.
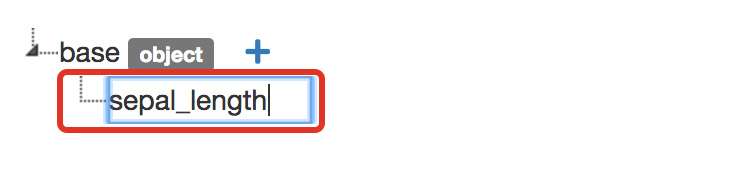
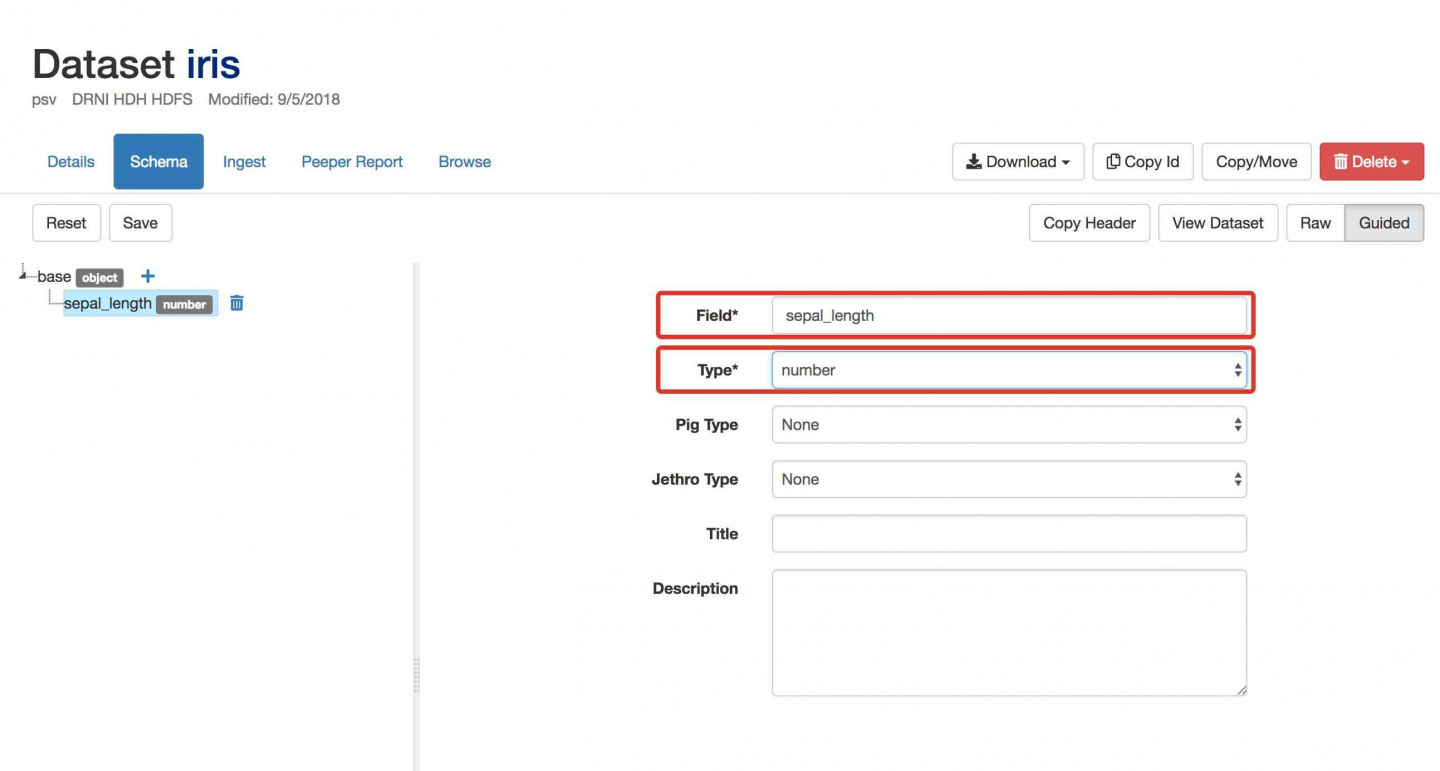
- In the text box enter sepal_length and press enter. This will be the name of the first field/column in the dataset you uploaded.
- Select number for Type.
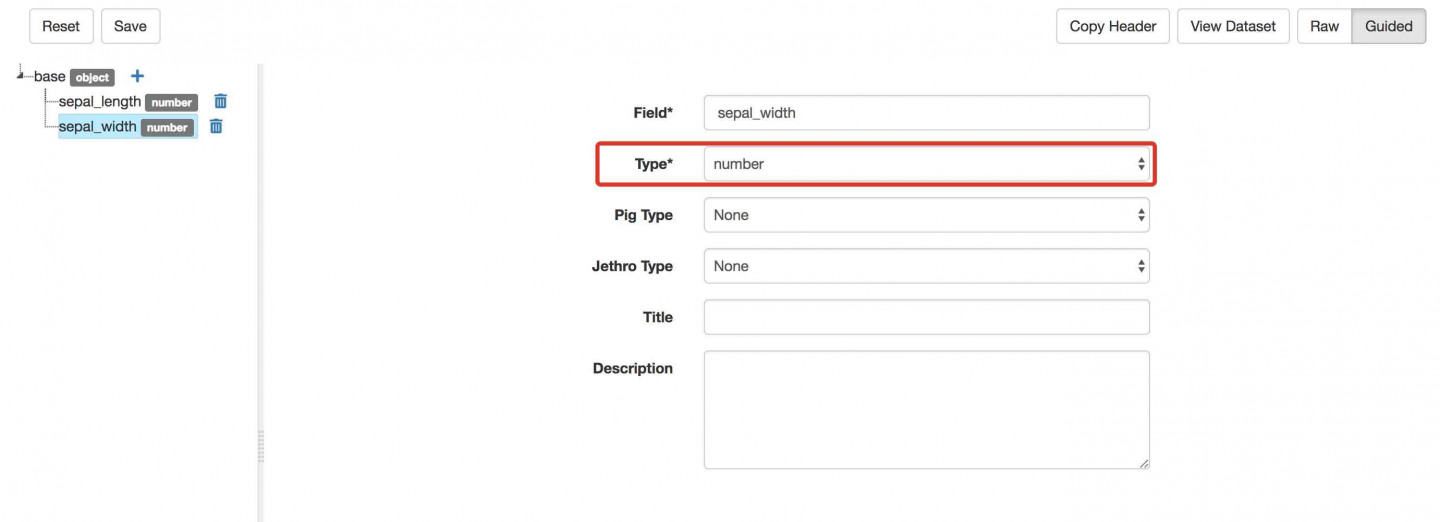
- B) Add a Column for Sepal Width:
- Click the + next to Base.
- In the text box enter sepal_width and press enter. This will be the name of the second field/column in the dataset you uploaded.
- Select number for Type.

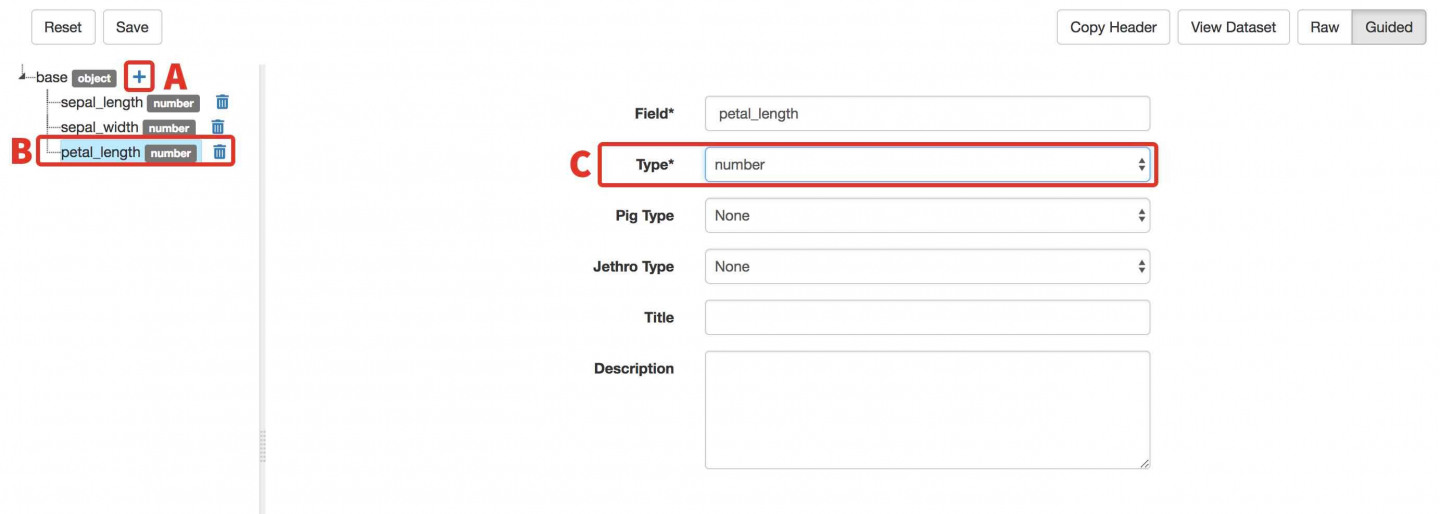
- C) Add a Column for Petal Length:
- Click the + next to Base.
- In the text box enter petal_length and press enter. This will be the name of the third field/column in the dataset you uploaded.
- Select number for Type.
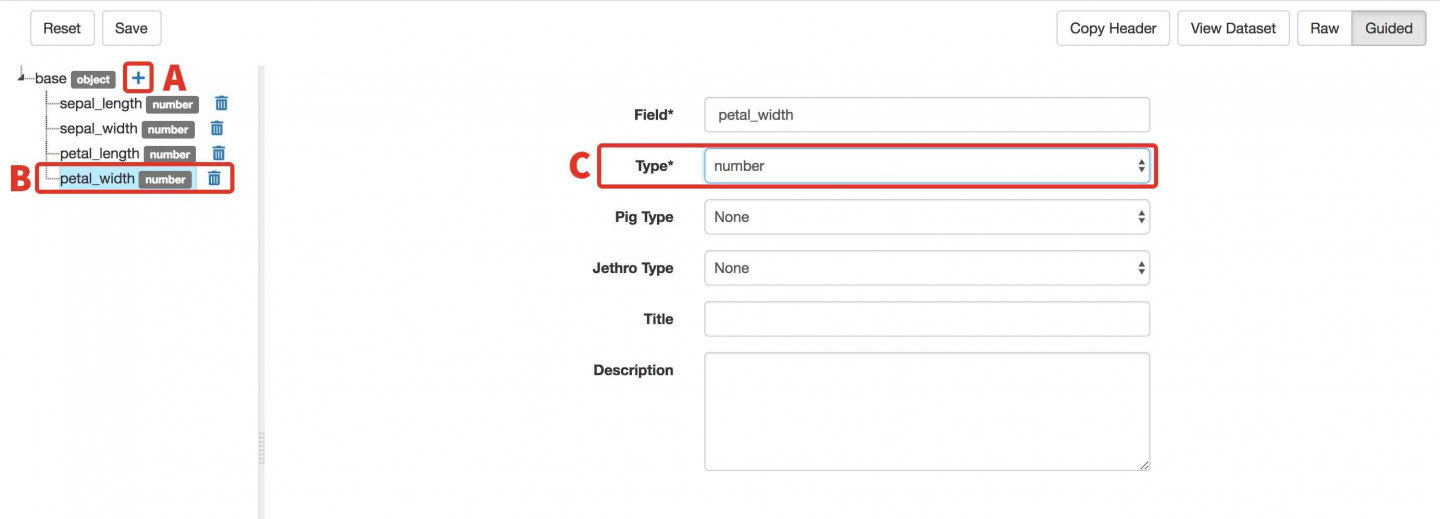
- D) Add a Column for Petal Width:
- Click the + next to Base.
- In the text box enter petal_width and press enter. This will be the name of the fourth field/column in the dataset you uploaded.
- Select number for Type.
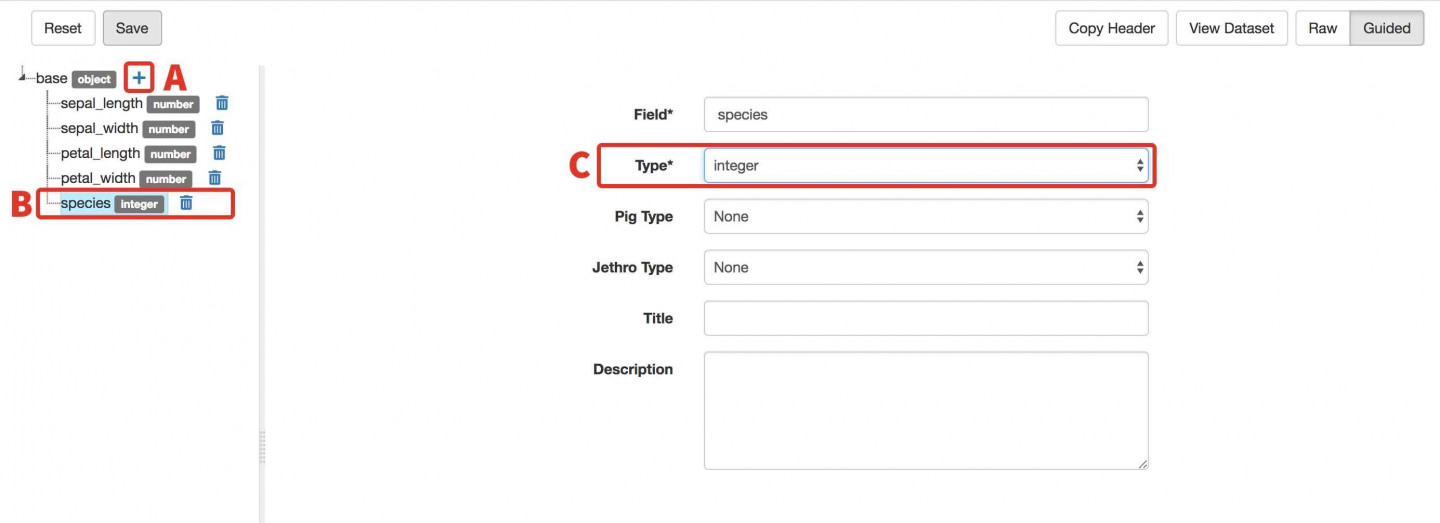
- E) Add a Column for Species:
- Click the + next to Base.
- In the text box enter species and press enter. This will be the name of the fifth field/column in the dataset you uploaded.
- Select integer for Type.
- Press the Browse button. You should now see a nicely formatted dataset with separated columns.
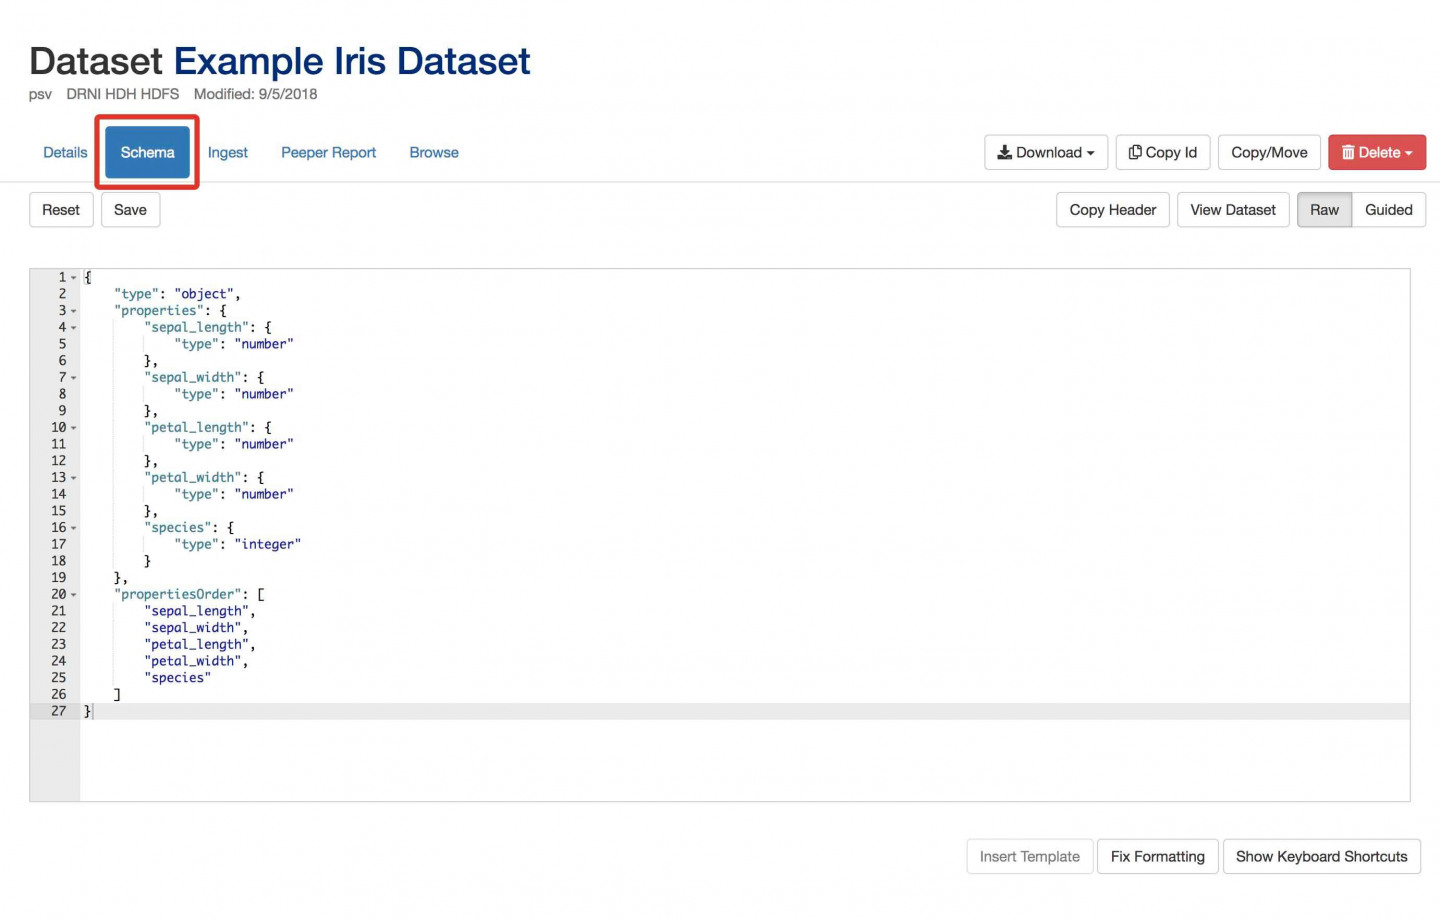
- Click on Schema again. This is the raw JSON which defines the schema for this datafile. Advanced users may choose to compose the JSON themselves. The Fix Formatting button helps make “prettified” JSON in this view.
C) Copy/Paste Existing Schema
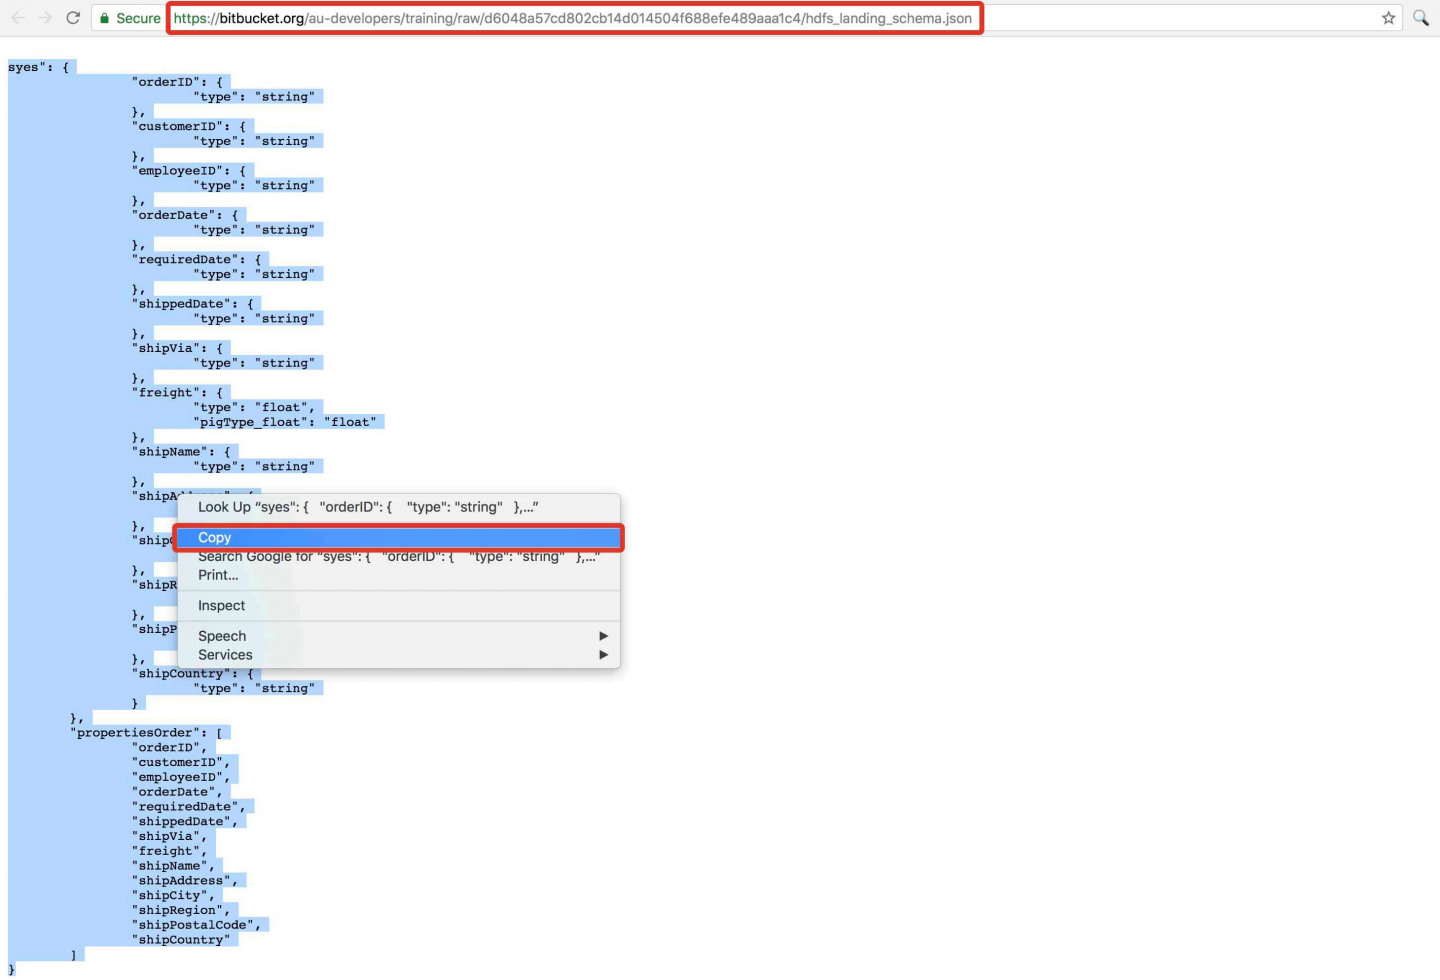
- Go to this link and copy the text onto your clipboard (i.e. highlight all and CTRL-C).
- Navigate to the Datasets landing page in Aunsight
- Click the + button to create a new dataset.
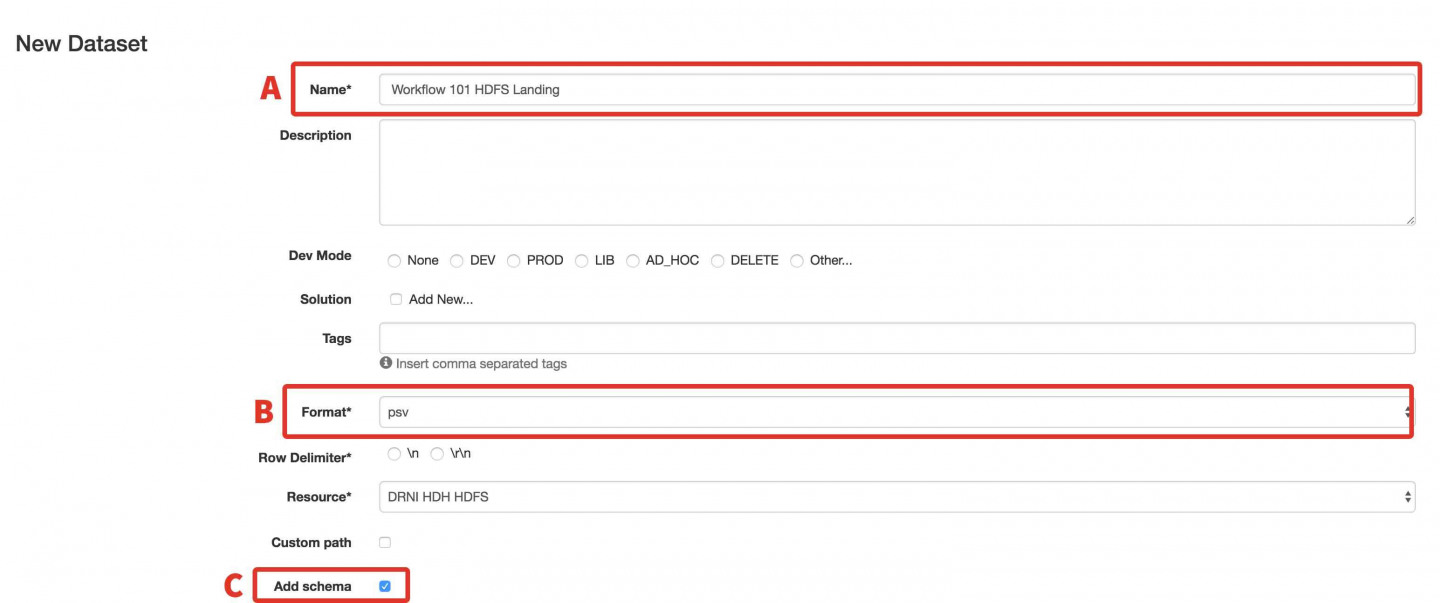
- In the Name field, enter Workflow 101 HDFS Landing Dataset.
- From Format select the psv option.
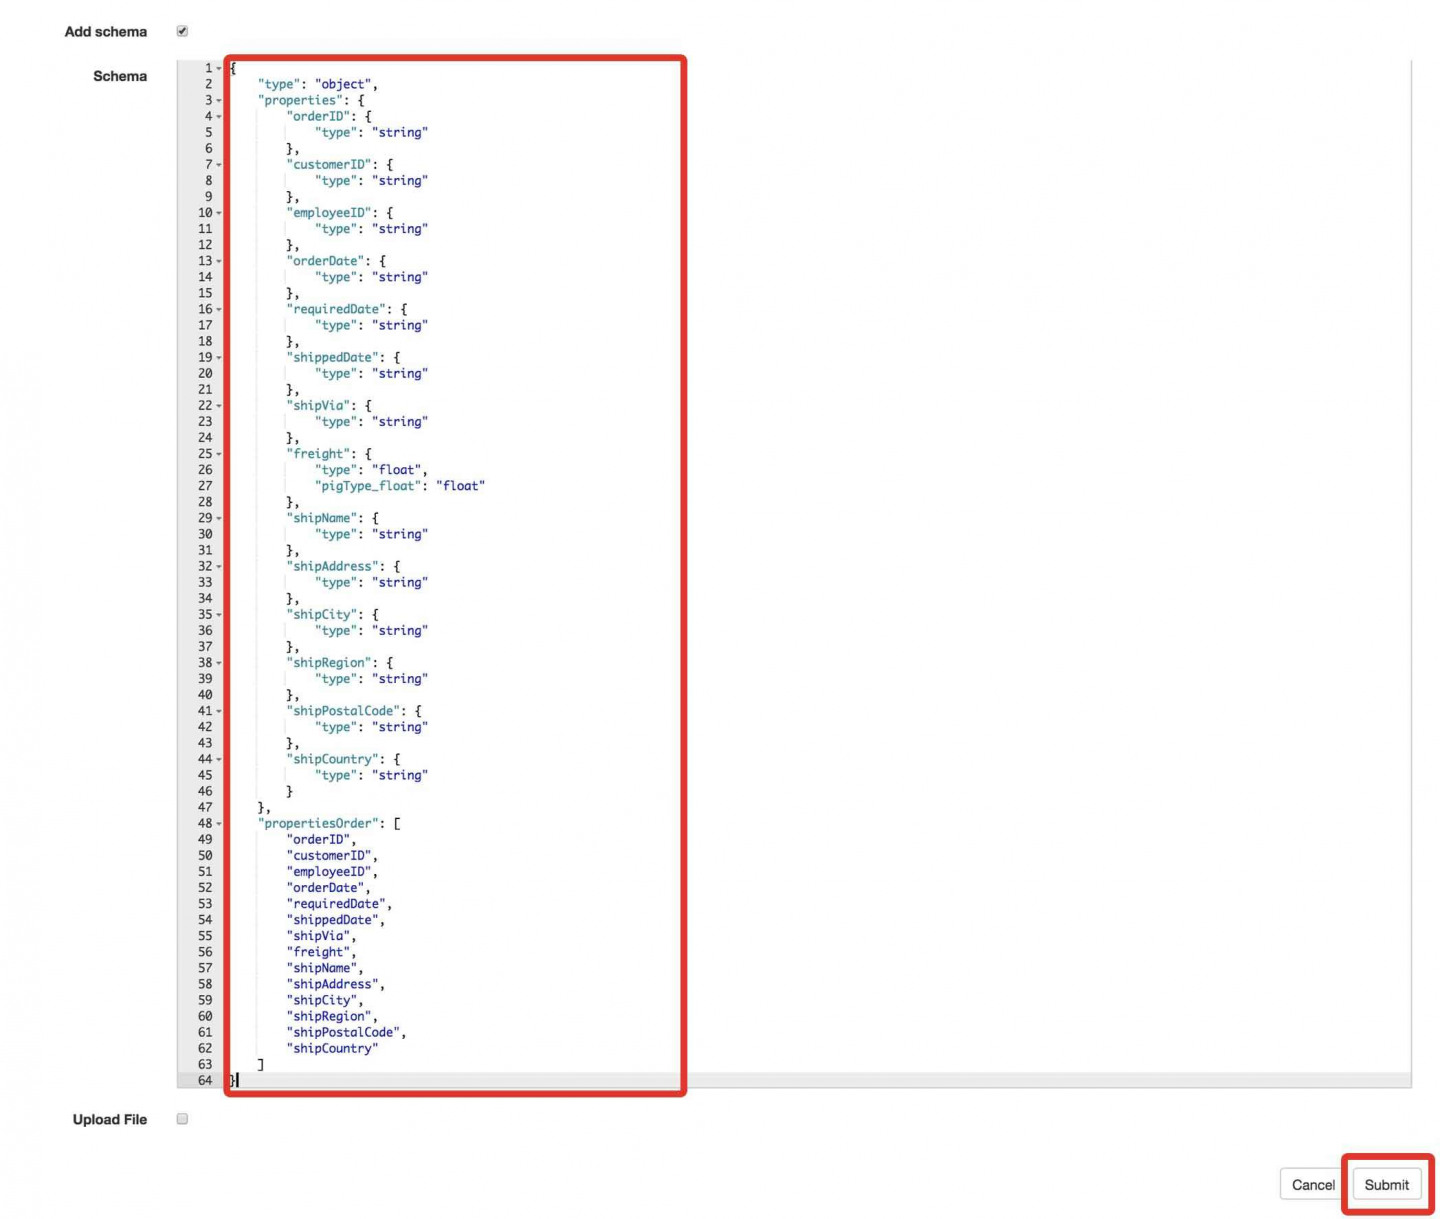
- Click the checkbox next to Add Schema and paste the schema from the clipboard into the window.
- Click the Submit button. We’ve created a Dataset with no contents. We will use this as a placeholder for a later exercise (Workflow Builder Exercise #1). If you visit the Browse tab, you will correctly receive an error as there is no contents currently in this dataset.